Behind The Scenes: Edition 1 - Deploying Static Sites
Today we’re switching it up a bit and going #bts for our website. This site is created using a static site generator called jekyll. Static sites are great because the site is served using static html, javascript, and css and are extremely fast as a result and easy to scale. In fact this site is just served from AWS S3 and uses a CDN (Content Delivery Network), Cloudfront to serve it. Every time we make a new post, a new file is created with some tags and some content and it is then pushed to Github. From Github, we use Travis CI to listen for changes and push our built site to S3.
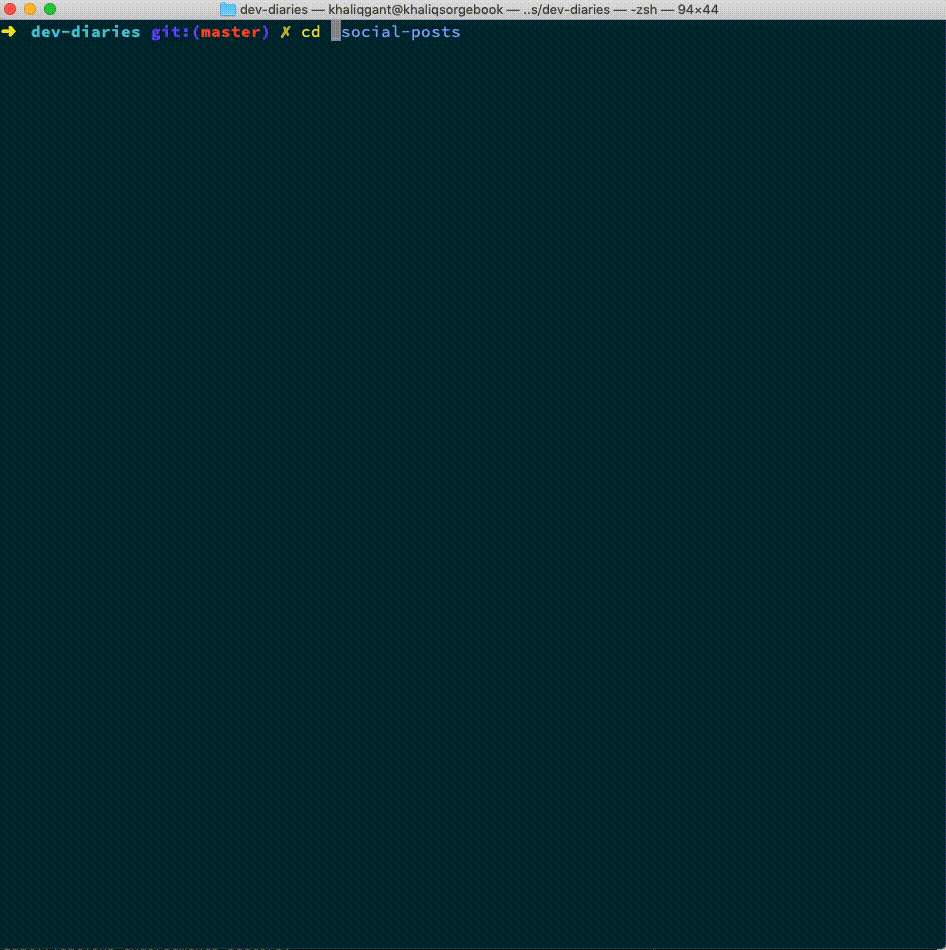
So in the gif below, we create a markdown file and then we fill in the file with the information about the post, the title, excerpt, date, and the categories. We’re putting that info in the front matter which is read by jekyll when it is building the static site out.
After we’ve finished editing the file, we commit it and push it to Github. Our travis.yml
file allows the pushes to Github to be picked up and sends the files to our S3 bucket.
Our .travis.yml file looks like this:
language: ruby
rvm:
  - 2.4.1
install:
  - gem install bundler:2.0.1
  - bundle install
  - gem install s3_website
script: jekyll build
after_success: s3_website push

branches:
  only:
  - master
We specify ruby version 2.4.1 and some steps to run in the virtual server that Travis CI spins up. We first install the dependencies of jekyll using bundler. We then install a handy gem, s3_website which pushes all of our files to S3 and handles Cloudfront invalidation as well. We then run a script to build the site, we push to S3 and bingo, our changes are live!
Read more about Travis CI here Our site is open source, so check out the repo if you want to see the code! This Medium article is a good guide if you want get setup yourself.